
Imagine transforming your kitchen into a mini science lab, where everyday ingredients turn into sparkling gems. Growing crystals at home isn’t just for mad scientists or geology nerds; it’s a fun and rewarding project anyone can tackle. With a pinch of patience and a sprinkle of creativity, you’ll soon have a dazzling display that’ll impress friends and family alike.
But wait! Before you start picturing yourself as the next diamond tycoon, remember that crystal growing is a delightful journey rather than a quick cash grab. From sugar to salt to more exotic substances, the possibilities are endless. So roll up those sleeves and get ready to embark on an adventure that’s both educational and visually stunning. Who knew science could be this fabulous?
Understanding Crystals
Crystals form through a process called crystallization, where a solid structure develops from a liquid or gas. These solid structures exhibit a repeating pattern, creating unique shapes and properties.
What Are Crystals?
Crystals are solid materials with tightly packed atoms, ions, or molecules. Their orderly arrangement is responsible for distinct geometric shapes and sharp edges. Most crystals form from natural processes, like cooling magma or evaporating mineral-rich water. Some common examples include quartz, diamonds, and salt. Each type of crystal possesses unique physical and chemical properties, influencing its appearance and uses.
Types of Crystals You Can Grow
Many types of crystals can thrive in home environments. Sugar crystals, formed from dissolved sugar in water, create large, clear structures. Salt crystals, produced similarly, showcase cubic shapes and fascinating textures. Baking soda crystals can be grown using a solution of water and baking soda, resulting in varied shapes. Additionally, Epsom salt crystals grow rapidly and demonstrate unique formations. Each type varies in growth time and appearance, inviting exploration and experimentation.
Materials Needed
Growing crystals at home requires some essential materials. These supplies help facilitate the process while ensuring safety.
Common Supplies
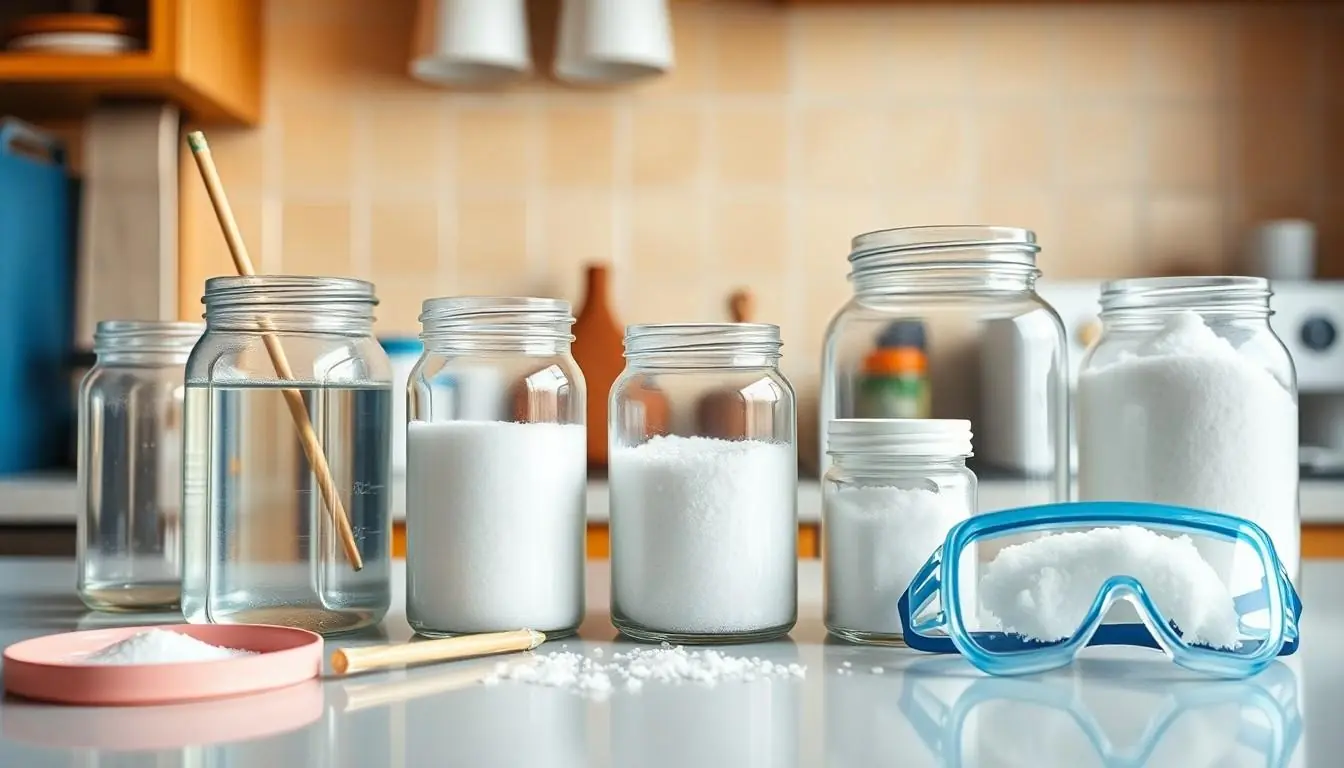
Common supplies include items like water, sugar, and various types of salts. Water serves as a solvent to dissolve the material. Granulated sugar is accessible and produces beautiful crystals. Table salt or Epsom salt also works well and leads to stunning results. Additionally, baking soda can create unique crystalline shapes. Glass containers or jars provide suitable growth environments, allowing visibility of the developing crystals. A stirring stick, like a spoon or wooden stick, helps ensure even mixing during preparation. Using heat may enhance dissolution rates, so a stove or hot water bath can be beneficial.
Safety Precautions
Safety precautions are vital while handling materials. Users should ensure proper ventilation in the workspace to avoid inhaling fumes. Wearing gloves protects the skin from potential irritation from chemicals. Safety goggles guard the eyes from splashes during experiments. Children should conduct activities under adult supervision to minimize risks. Keeping materials out of reach avoids accidental ingestion or misuse. Users must read labels and follow instructions on all supplies to ensure safe handling. Proper disposal of leftover materials prevents environmental contamination.
Step-by-Step Guide to Growing Crystals
Growing crystals at home involves a few straightforward steps. This guide provides clear directions for creating beautiful crystals using various solutions.
Choosing Your Crystal Solution
Selecting the right crystal solution sets the foundation for successful growth. Sugar, salt, baking soda, and Epsom salt represent popular choices, each yielding unique results. Sugar solutions produce clear, sparkling crystals in a matter of days. Salt crystals, often used for cooking, require a longer time to form intricate shapes. Baking soda mixed with water creates larger, fluffy crystals. Epsom salt provides a stunning effect as well but may take slightly longer than sugar. Experimenting with these options allows for a fun exploration of different shapes and sizes.
Setting Up the Growth Environment
Establishing the right environment greatly impacts the growth process. Choose a clean, dry place away from direct sunlight to prevent evaporation. Clear glass containers provide visibility, allowing admiration of the growing crystals. Ensure a stable temperature, ideally around room temperature, to maintain optimal conditions. Secure the container in a location where it won’t be disturbed. Using a stirring stick, dissolve your chosen crystals in hot water for best results. Remember, ventilation remains important during setup to ensure a safe environment.
Time and Patience: Monitoring Crystal Growth
Monitoring crystal growth requires diligence and excitement. After setting up, observe the changes daily; visible growth typically occurs in a few days. Document the growth process by taking photographs to capture each stage. Adjust conditions as necessary, but avoid sudden disruptions. Patience plays a critical role; rushing the process can lead to disappointing results. Some crystals may take weeks to reach their full potential, rewarding the observer with stunning outcomes. Recognizing that each type of crystal behaves differently helps manage expectations.
Tips for Successful Crystallization
Successful crystallization relies on careful attention to detail. Several strategies help ensure optimal results when growing crystals at home.
Avoiding Common Mistakes
Avoid using too much solute. Excess material can lead to chaotic growth. Choose a clear container which allows for easy observation of the process. Maintain consistent temperature, as fluctuations can disrupt crystallization. Stirring too vigorously can also hinder growth; gentle mixing creates more uniform crystals. Document every step, as tracking adjustments aids in identifying what works best.
Enhancing Crystal Quality
Enhancing crystal quality involves a few key techniques. Using purified water improves clarity, reducing impurities that affect growth. Gradually cooling the solution promotes larger, well-formed crystals. Consider leaving crystals undisturbed during growth, as constant movement can cause fragmentation. Allowing ample time for crystals to develop leads to more defined shapes and colors. Experimenting with different growing conditions may reveal which factors yield the best results.
Growing crystals at home is an engaging and educational experience that anyone can enjoy. By experimenting with different materials and techniques, individuals can witness the beauty of crystallization firsthand. This project not only sparks curiosity but also fosters a deeper understanding of scientific principles.
With patience and careful attention to detail, anyone can create stunning crystal formations that add a touch of wonder to their surroundings. Embracing this hands-on activity opens doors to creativity and exploration. So gather the materials and embark on this exciting journey into the world of crystals. The rewards are not just in the final product but in the joy of the process itself.